The Process
Inspiration and Rough Sketches
This project started out as a way for Alan to explore character illustration beyond what he traditionally gets to do with clients. He started off with compiling some inspiration from around the web on Pinterest.
The Skillshare class he took was focused on creating a pirate illustration but the students had the freedom to diverge from that focus and Alan decided to pursue something more in the steampunk realm. After researching, Alan started sketching out character ideas on his iPad and fleshing out the different characters back stories in his mind as he went along. He decided upon option C and ran with it.

Anyone of these guys were a strong candidate to be fully rendered.
Refining the Lines
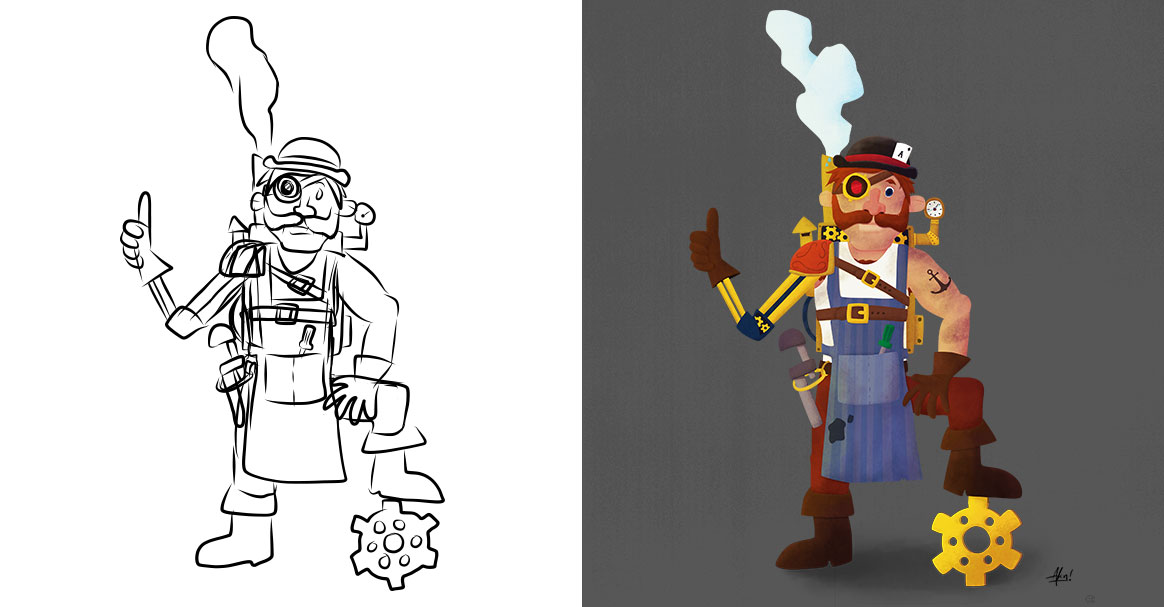
After deciding to go with option C (which Alan thought was the strongest and others seemed to as well) , he cleaned up the sketch. He probably added a few too many details since he’d be redoing most of this in the rendering process but it’s nice to see. We think this guy is turning out well so far. Now on to shapes in Illustrator and then rendering in Photoshop.

The line work was also done on the iPad (with a stylus)
Building the Basic Shapes
Now shapes in Illustrator. This took WAY too long because of all the little details and spending longer with color in this step than probably necessary. Onward!

All shapes built in Illustrator CS6
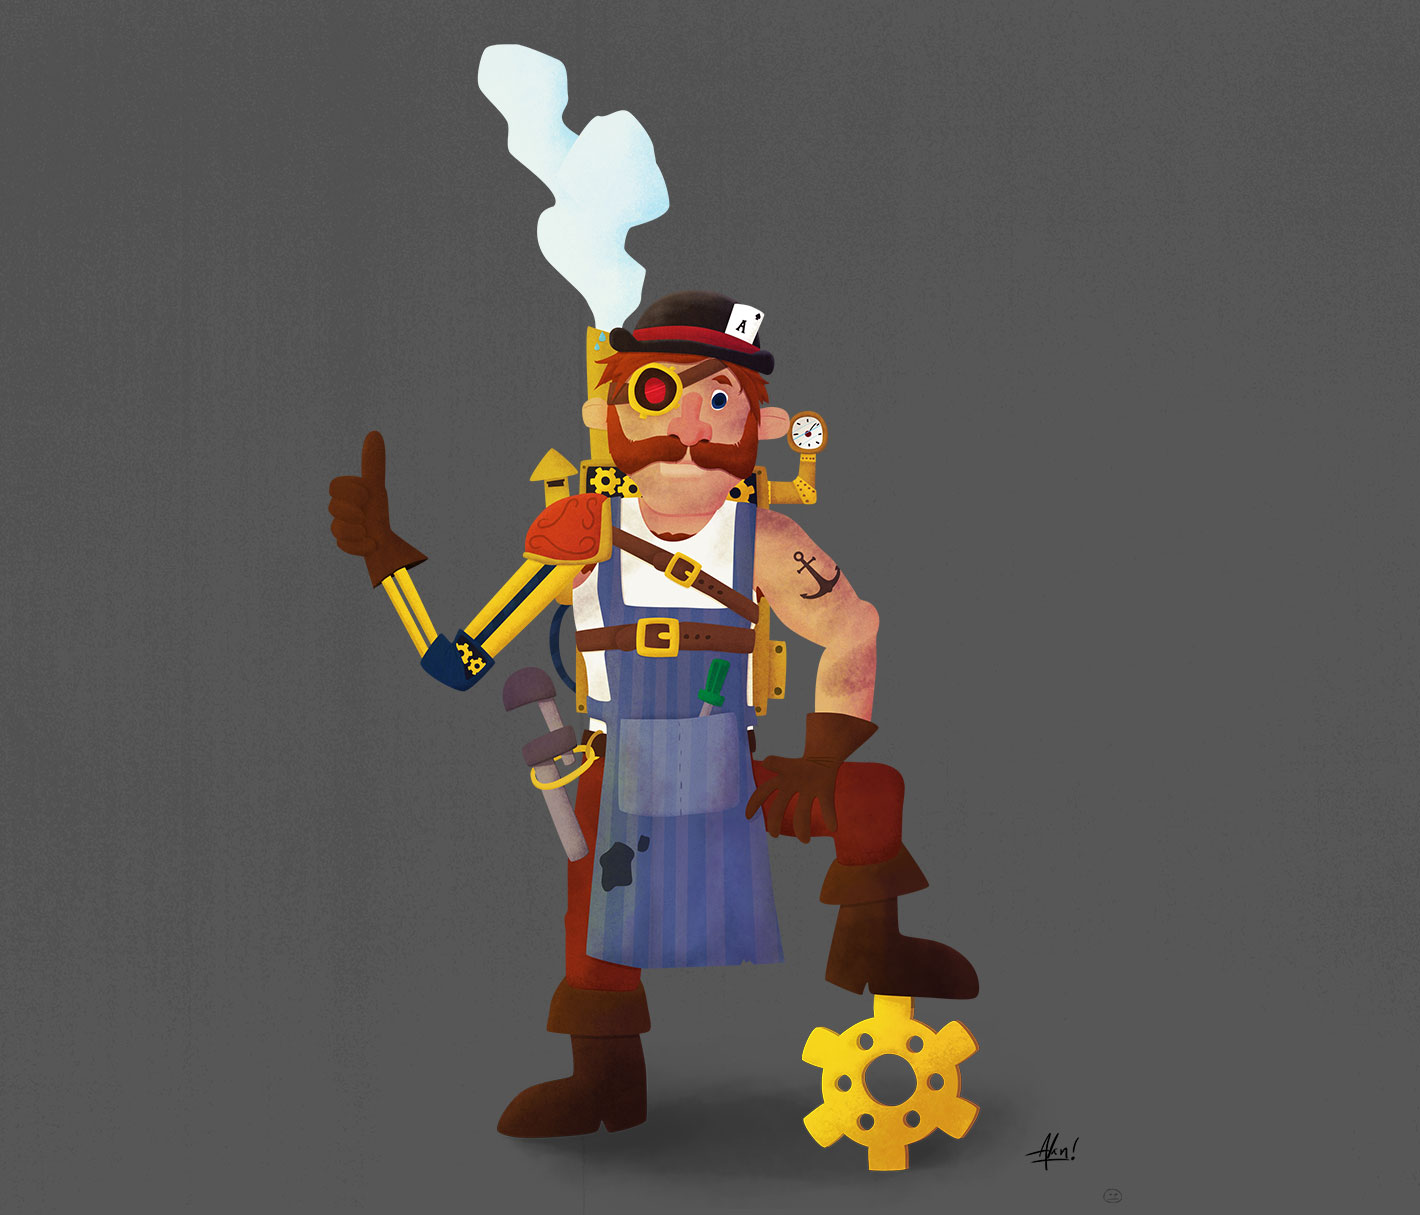
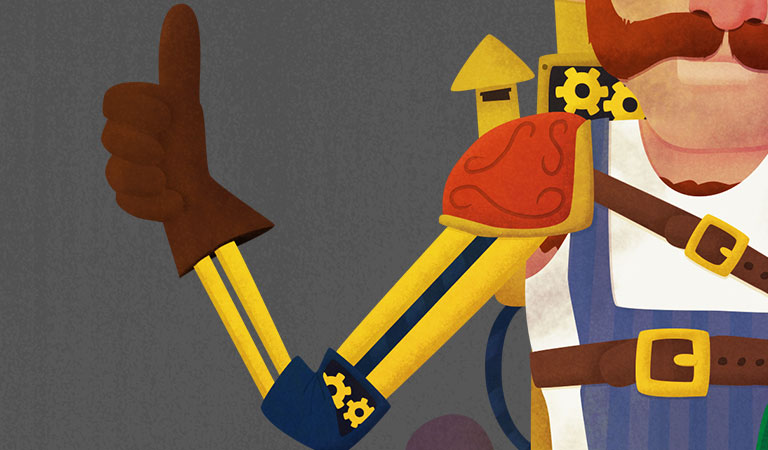
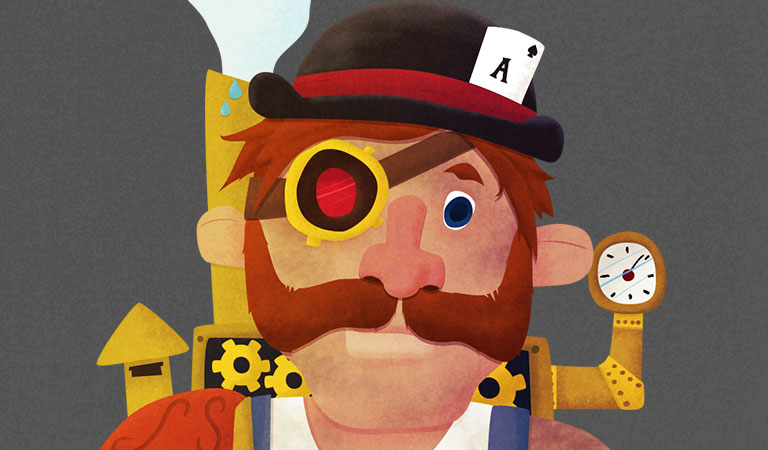
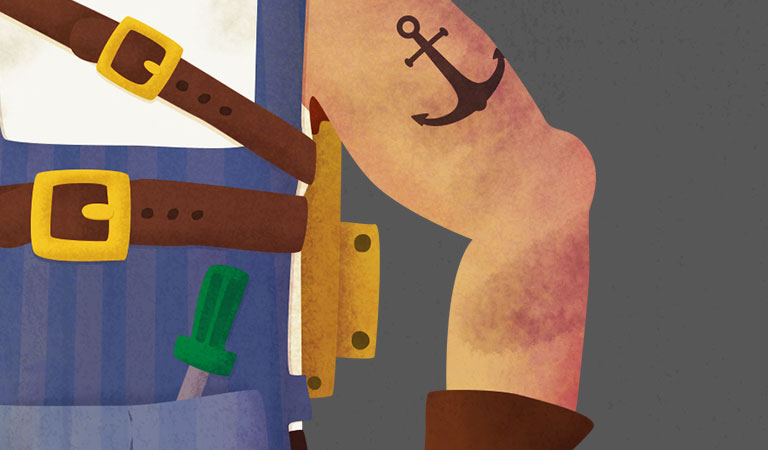
Final Render in Photoshop
After importing the shapes from Illustrator into Photoshop, the real “magic” happened. Colors were made fuller, textures were added, and details created or made more evident. Then the contrast was increased, a bit of extra lighting effects put in, and some shadows were also added. Then BAM! Fully rendered illustration!

All rendering done in Photoshop CS6